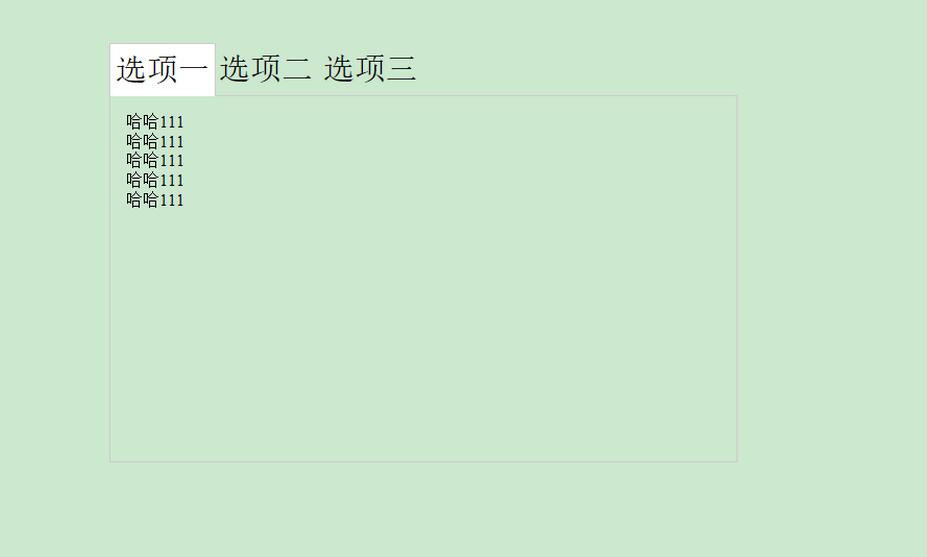
本文实例为大家分享了js选项卡的具体代码,供大家参考,具体内容如下
<!doctype html>
<html lang="en">
 <head>
 <meta charset="UTF-8">
 <title>选项卡</title>
 </head>
 <style>
 /*复位*/
 *{padding:0;margin:0;}
 div#tabs{
 width:600px;
 height:400px;
 margin:100px auto;
 position:relative;
 }
 .tab{
 width:100px;
 height:50px;
 position:absolute;
 top:0;
 }
 input.tab{
 z-index:11;
 opacity:0;
 cursor:pointer;
 }
 a.tab{
 z-index:10;
 text-align:center;
 line-height:50px;
 text-decoration:none;
 color:black;
 font-size:30px;
 }
 .tab1{
 left:0px;
 }
 .tab2{
 left:100px;
 }
 .tab3{
 left:200px;
 }
 /*鼠标滑过*/
 input.tab:hover+a{
 background-color:#ccc;
 }
 /*鼠标点击*/
 input.tab:checked+a{
 border:1px solid #ccc;
 border-bottom:none;
 background-color:white;
 }

 /*scroll设置*/
 div#scroll{
 position:absolute;
 top:50px;
 width:100%;
 height:350px;
 border:1px solid #ccc;
 overflow:hidden;
 }
 div#scroll>div.content{
 width:100%;
 height:100%;
 position:absolute;
 top:0;
 left:100%;
 padding:15px;
 transition:all 0.6s linear;
 }
 input.tab1:checked~div#scroll>div.content1,
 input.tab2:checked~div#scroll>div.content2,
 input.tab3:checked~div#scroll>div.content3{
 left:0%;
 }
 </style>
 <body>
 <div id="tabs">
 <input type="radio" name="tab" class="tab tab1" checked />
 <a href="#" class="tab tab1">选项一</a>
 <input type="radio" name="tab" class="tab tab2"/>
 <a href="#" class="tab tab2">选项二</a>
 <input type="radio" name="tab" class="tab tab3"/>
 <a href="#" class="tab tab3">选项三</a>
 <div id="scroll">
 <div class="content content1">
 哈哈111<br/>
 哈哈111<br/>
 哈哈111<br/>
 哈哈111<br/>
 哈哈111<br/>
 </div>
 <div class="content content2">
 哈哈222<br/>
 哈哈222<br/>
 哈哈222<br/>
 哈哈222<br/>
 哈哈222<br/>
 </div>
 <div class="content content3">
 哈哈333<br/>
 哈哈333<br/>
 哈哈333<br/>
 哈哈333<br/>
 哈哈333<br/>
 </div>
 </div>
 </div>
 </body>

</html>
效果图:

以上就是本文的全部内容,希望对大家的学习有所帮助,也希望大家多多支持脚本之家。