本文实例讲述了微信小程序swiper组件用法。分享给大家供大家参考,具体如下:
关于视图容器swiper的详细内容可参考官方文档
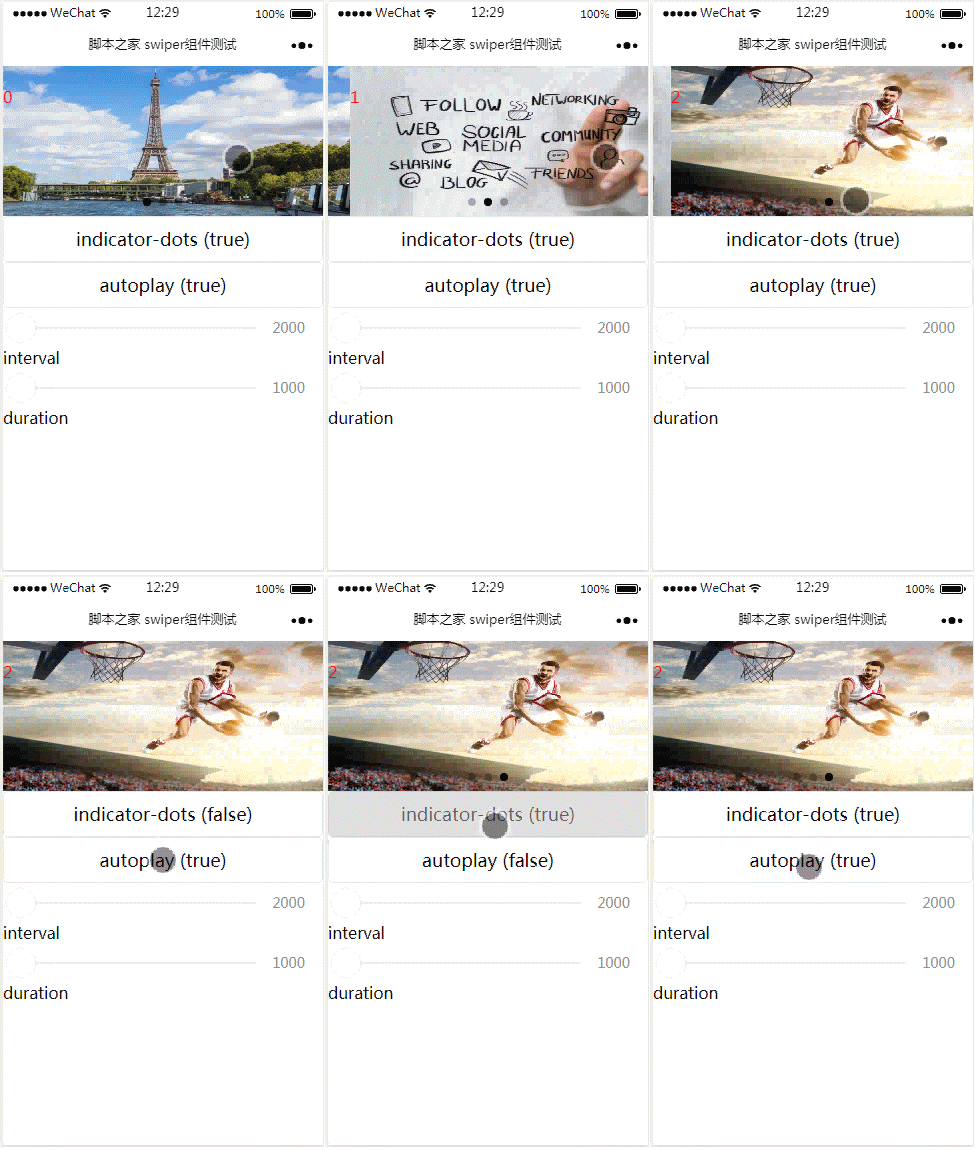
先来看看运行效果:

index.js:
Page({
 data: {
 imgUrls: ['http://img02.tooopen.com/images/20150928/tooopen_sy_143912755726.jpg',
'http://img06.tooopen.com/images/20160818/tooopen_sy_175866434296.jpg',
'http://img06.tooopen.com/images/20160818/tooopen_sy_175833047715.jpg'
 ],
 indicatorDots: false,
 autoplay: false,
 interval: 5000,
 duration: 1000
 },
 changeIndicatorDots: function (e) {
 this.setData({
 indicatorDots: !this.data.indicatorDots
 })
 },
 changeAutoplay: function (e) {
 this.setData({
 autoplay: !this.data.autoplay
 })
 },
 intervalChange: function (e) {
 this.setData({
 interval: e.detail.value
 })
 },
 durationChange: function (e) {
 this.setData({
 duration: e.detail.value
 })
 }
})
index.wxml:
<swiper indicator-dots="{{indicatorDots}}"
autoplay="{{autoplay}}" interval="{{interval}}" duration="{{duration}}">
 <block wx:for="{{imgUrls}}" wx:key="{{index}}">
 <swiper-item>
 <image src="{{item}}" class="slide-image" width="355" height="150" ></image>
 <text class="textindex">{{index}}</text>
 </swiper-item>
 </block>
</swiper>
<button bindtap="changeIndicatorDots"> indicator-dots ({{indicatorDots}})</button>
<button bindtap="changeAutoplay"> autoplay ({{autoplay}})</button>
<slider bindchange="intervalChange" show-value min="2000" max="5000"/> interval
<slider bindchange="durationChange" show-value min="1000" max="2000"/> duration
index.wxss:
.slide-image{
 display: inline;
}
.textindex{
 position: absolute;
 top :20px;
 color: red;
}
附:完整实例代码点击此处本站下载。
希望本文所述对大家微信小程序开发有所帮助。