最近在做小程序的项目,由于用户需求在进入页面时进行选则角色,然后再进入小程序,这
最近在做小程序的项目,由于用户需求在进入页面时进行选则角色,然后再进入小程序,这时看到的底部菜单看到的不一样,而我们都知道原生的tabBar是不支持这种做法的。在网上搜集了海量资料后发现无非两种解决方法:1.是建立模板,可是会有不能忍受的抖动;2.是利用小程序的组件开发;但是项目已经进行了一般,不可能再进行大的改变;
怎么办呢??
无意在一条评论中发现说微信官方已经提供该组件,于是在小程序文档中寻找很久才在一个犄角旮旯找到:地址链接、
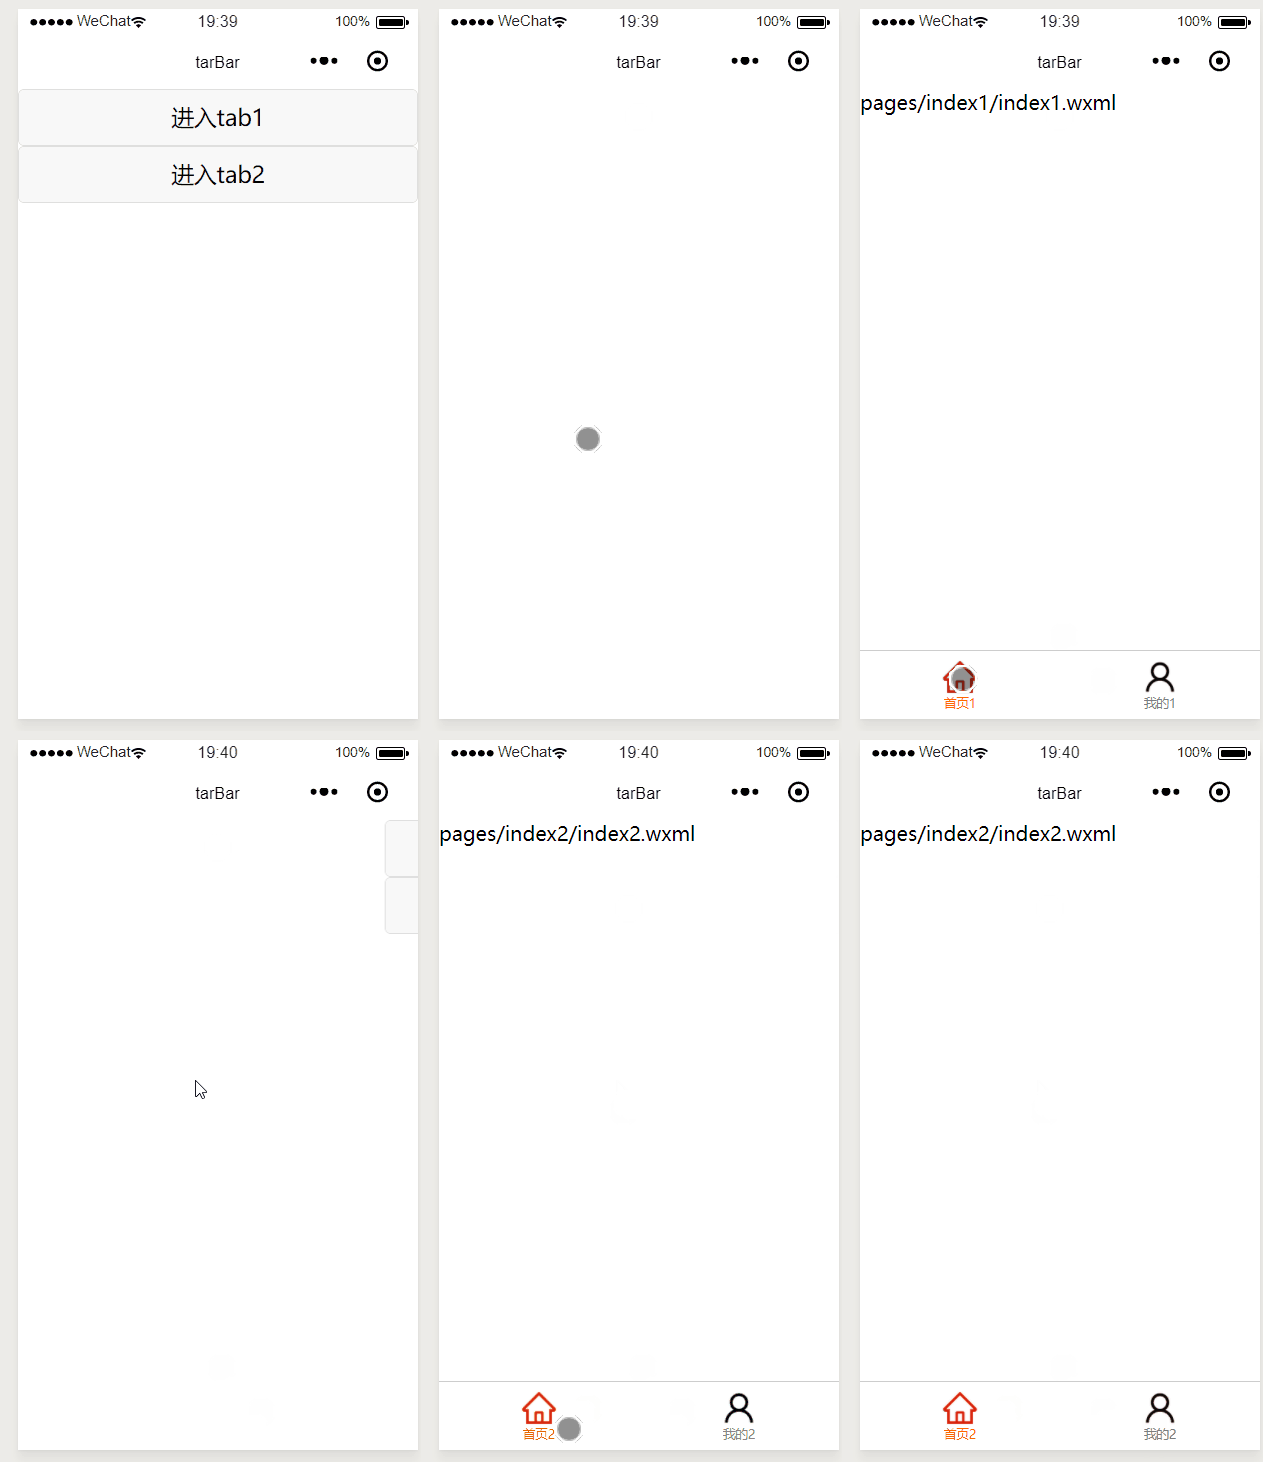
先看效果图:

1.首先看一下官方用法
这是几个非常重要你需要知道的
2.小程序提供了一个例子
在这个例子中有一个微信官方提供的组件:下载地址
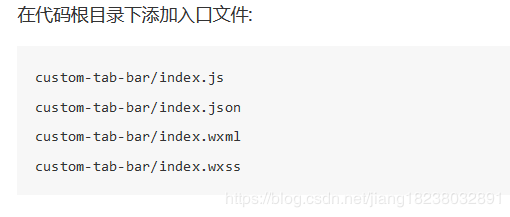
组件的目录结构:

3.就是我们要根据需求改造
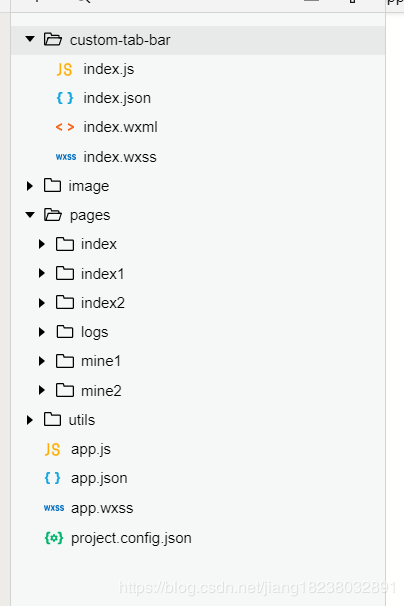
自己改造的目录结构如下:

1.首先配置app.json
"tabBar": {
 "custom": true,//这个要有, 前面都提到过,注释要删了
 "color": "#7A7E83",
 "selectedColor": "#3cc51f",
 "borderStyle": "black",
 "backgroundColor": "#ffffff",
 "list": [
 {
 "pagePath": "pages/index1/index1",
 "iconPath": "/image/home.png",
 "selectedIconPath": "/image/home1.png",
 "text": "首页1"
 },
 {
 "pagePath": "pages/mine1/mine1",
 "iconPath": "/image/user.png",
 "selectedIconPath": "/image/user1.png",
 "text": "我的1"
 },
 {
 "pagePath": "pages/index2/index2",
 "iconPath": "/image/home.png",
 "selectedIconPath": "/image/home1.png",
 "text": "首页2"
 },
 {
 "pagePath": "pages/mine2/mine2",
 "iconPath": "/image/user.png",
 "selectedIconPath": "/image/user1.png",
 "text": "我的2"
 }
 ]
},//这个
"usingComponents": {}
2.app.js
//app.js
App({
 onLaunch: function () {
 },
 globalData: {
 userInfo: null,
 list:[] //存放tabBar的数据
 }
})
3.改造组件
custom-tab-bar/index.js

const app =getApp();
Component({
 data: {
 selected: 0,
 color: "#7A7E83",
 selectedColor: "#ff6700",
 list: [] //tabBar的数据
 },
 lifetimes: {
 //组件的生命周期函数
 attached() {
 this.setData({
 list: app.globalData.list
 })
 },
 },
 methods: {
 switchTab(e) {
 const data = e.currentTarget.dataset
 const url = data.path
 wx.switchTab({url})
 this.setData({
 selected: data.index
 })
 }
 }
})
4.下面就是用了
在首页index.wxml定义了两个按钮
<button bindtap='tab1'>进入tab1</button>
<button bindtap='tab2'>进入tab2</button>
时间:index.js
 tab1: function() {
 app.globalData.list = [{
 "pagePath": "/pages/index1/index1",
 "iconPath": "/image/home.png",
 "selectedIconPath": "/image/home1.png",
 "text": "首页1"
 },
 {
 "pagePath": "/pages/mine1/mine1",
 "iconPath": "/image/user.png",
 "selectedIconPath": "/image/user1.png",
 "text": "我的1"
 }
 ]
 wx.switchTab({
 url: '../index1/index1',
 })
 },
 tab2: function() {
 app.globalData.list = [{
 "pagePath": "/pages/index2/index2",
 "iconPath": "/image/home.png",
 "selectedIconPath": "/image/home1.png",
 "text": "首页2"
 },
 {
 "pagePath": "/pages/mine2/mine2",
 "iconPath": "/image/user.png",
 "selectedIconPath": "/image/user1.png",
 "text": "我的2"
 }
 ]
 wx.switchTab({
 url: '../index2/index2',
 })
 }
5.在每个tabBar中的onshow()方法中添加如下:
//添加选中效果
if (typeof this.getTabBar === 'function' &&
 this.getTabBar()) {
 this.getTabBar().setData({
 selected: 0 //这个数是,tabBar从左到右的下标,从0开始
 })
 }
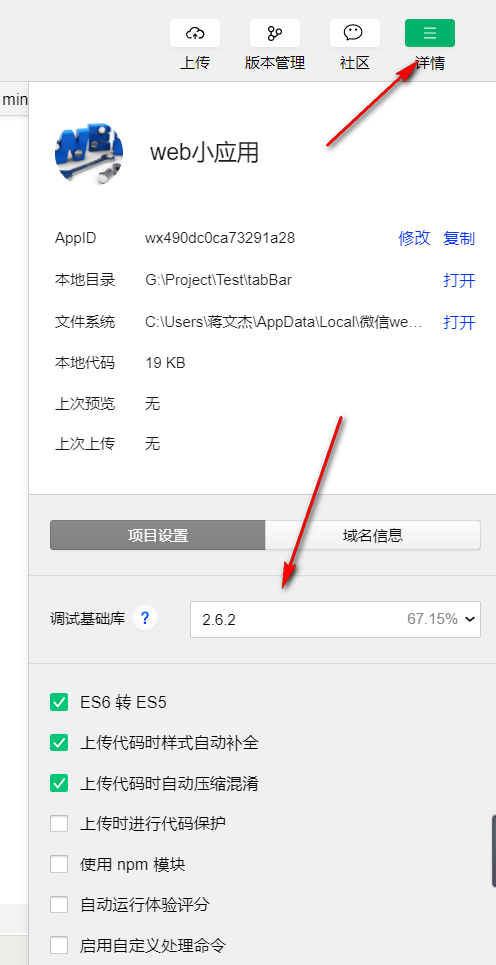
另外调整基础库版本的地方在

源代码下载地址
总结
以上所述是小编给大家介绍的微信小程序官方动态自定义底部tabBar的例子,希望对大家有所帮助,如果大家有任何疑问请给我留言,小编会及时回复大家的。在此也非常感谢大家对脚本之家网站的支持! 如果你觉得本文对你有帮助,欢迎转载,烦请注明出处,谢谢!
微信小程序tabbar 微信小程序自定义