知识有限,目前只写了发布动态的功能,没有写兼容,后面再慢慢完善。嘿嘿
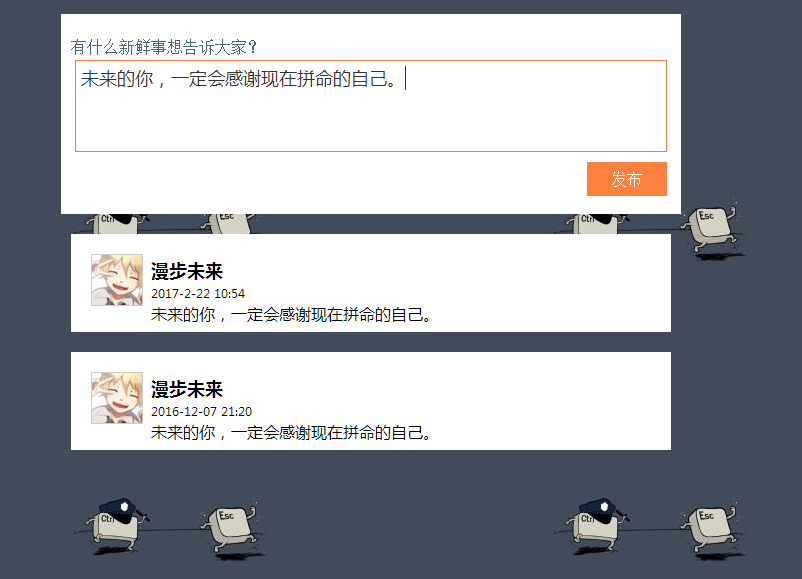
效果图:
代码如下:
<!DOCTYPE html>
<html lang="en">
<head>
 <meta charset="UTF-8">
 <title>微博</title>
 <style>
 body, p, img, ul, li { margin: 0; padding: 0; }
 body { background-image: url("http://cdn.attach.qdfuns.com/notes/pics/201612/07/212742f92tpe2wve095ttp.jpg");}
 li { list-style: none; }
 .box {
 padding-top: 20px;
 margin: 20px auto;
 width: 620px;
 height: 180px;
 position: relative;
 background-color: #ffffff;
 text-align: center;
 }
 .box label {
 font: 18px/18px "微软雅黑";
 color: #cccccc;
 position: absolute;
 top: 60px;
 left: 40px;
 cursor: text;
 }
 .H {
 float: left;
 padding: 5px 0 5px 10px;
 color: #426B80;
 font: 400 16px/16px "宋体";
 }
 textarea {
 padding: 5px;
 border-color: #CCCCCC;
 width: 580px;
 height: 80px;
 resize: none;
 outline:none;
 font: 400 18px "微软雅黑";
 color: #333333;
 }
 #button {
 width: 80px;
 height: 34px;
 display: block;
 background-color: #FFC09F;
 position: absolute;
 top: 148px;
 right: 14px;
 text-align: center;
 line-height: 34px;
 color: #ffffff;
 cursor: pointer;
 /*F7671D*/
 }
 .dynamic {
 text-align: left;
 padding: 10px 10px;
 width: 580px;
 height: 100%;
 }
 .user {
 position: relative;
 }
 .user img {
 border: solid 1px #CCCCCC;
 vertical-align: top;
 }
 .user .name {
 display: block;
 position: absolute;
 top: 8px;
 left: 60px;
 font: 600 18px/18px "微软雅黑";
 }
 .time{
 display: block;
 position: absolute;
 top: 55px;
 left: 80px;
 font: 500 10px/10px "微软雅黑";
 }
 .dynamic .user {
 margin: 10px 5px 0 10px;
 }
 .dynamic .list {
 font: 500 16px/16px "微软雅黑";
 padding-left: 70px;
 }
 </style>
 <script>
 window.onload = function () {
 //获取当前时间函数
 function time() {
 var maydate = new Date();
 var Time = maydate.getFullYear() + "-" + (maydate.getMonth()+1) +"-"+maydate.getDate()+" "+maydate.getHours()+":"+maydate.getMinutes();
 return Time;
 }
 //获取ID函数
 function $(id) {return document.getElementById(id);}
 //创建节点函数
 function nweChild(id,text) {
 //获得节点ID
 var parent = $(id);
 //获得body所有的孩子
 var child = parent.parentNode.children;
 //克隆当前节点和其所有子节点
 var newNode = parent.cloneNode(true);
 //给当前节点的父节点插入克隆的节点
 parent.parentNode.insertBefore(newNode,child[1]);
 //插入的克隆节点更换ID
 child[1].id = id + (child.length - 2);
 //改变时间
 //获取当前id节点的所有孩子
 var idChild = child[1].children;
 idChild[0].innerHTML = time();
 idChild[2].innerHTML = $("text").value;
 }
 //获得焦点改变边框颜色和恢复默认字体颜色
 $("text").onfocus = function () {
 this.style.borderColor = "#FA7D3C";
 this.style.color = "#333333";
 }
 //失去焦点恢复默然边框颜色,改变字体颜色
 $("text").onblur = function () {
 this.style.borderColor = "#CCCCCC";
 this.style.color = "#CCCCCC";
 }
 //监听输入事件
 $("text").oninput = function () {
 if($("text").value != ""){
 //隐藏提示文本
 $("txt").style.display = "none";
 //文本域不为空 按钮可点击
 $("button").style.backgroundColor = "#FF8140";
 }else{
 //显示提示文本
 $("txt").style.display = "block";
 //文本域为空 按钮不可点击
 $("button").style.backgroundColor = "#FFC09F";
 }
 }
 //按钮事件
 $("button").onmousemove = function () {
 //当文本域不为空执行下面按钮事件
 if($("text").value != ""){
 $("button").onmouseout= function () {
 //如果不为空 按钮为亮色
 if($("text").value != ""){
this.style.backgroundColor = "#FF8140";
 }else {
 //恢复按钮为不可点击颜色
 $("button").style.backgroundColor = "#FFC09F";
 }
 }
 //按钮为高亮
 this.style.backgroundColor = "#F7671D";
 //调用节点函数,并把传递当前文本内容
 $("button").onclick = function () {
 if($("text").value != ""){
 nweChild("order",$("text").value);
 }
 //清空当前文本
 $("text").value = "";
 //恢复按钮为不可点击颜色
$("button").style.backgroundColor = "#FFC09F";
 //更改提示文本内容
 $("txt").innerHTML = "你看,没骗你吧!"
 //显示提示文本
 $("txt").style.display = "block";
 }
 }
 }
 }
 </script>
</head>
<body>
 <div class="box">
 <span class="H">有什么新鲜事想告诉大家?</span>
 <textarea name="text" id="text"></textarea>
 <label for="text" id="txt">输入一段话,点发布会有惊喜哦!</label>
 <span id="button">发布</span>
 </div>
 <div class="box dynamic" id="order">
 <span class="time">2016-12-07 21:20</span>
 <div class="user">
 <img src="http://cdn.attach.qdfuns.com/notes/pics/201612/07/212742m96ugh87fzxhuuxp.jpg" width=50; alt="头像">
 <span class="name">漫步未来</span>
 </div>
 <ul class="list">
 <li>未来的你,一定会感谢现在拼命的自己。</li>
 </ul>
 </div>
</body>
</html>
以上就是本文的全部内容,希望本文的内容对大家的学习或者工作能带来一定的帮助,同时也希望多多支持脚本之家!